Payment Gateway
A payment gateway facilitates secure transfer of payment details between customers and merchants, ensuring smooth and safe online transactions by linking various payment methods (e.g., debit/credit cards, digital wallets) with merchant websites or applications.
THAPIM supports two payment gateways, which are listed below.
- RazorPay.
- Strip.
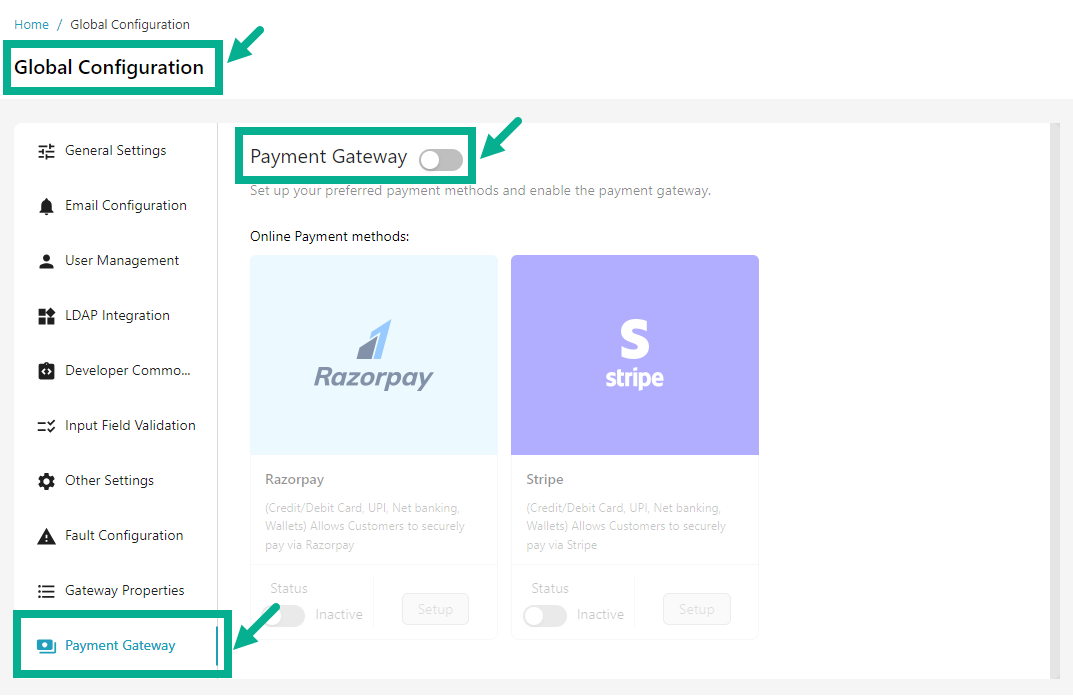
Configure Razorpay
- Navigate to the Global Configuration module's Payment Gateway sub-module.

- Enable the Payment Gateway toggle.
Online payment methods can only be configured when the Payment Gateway toggle is enabled.
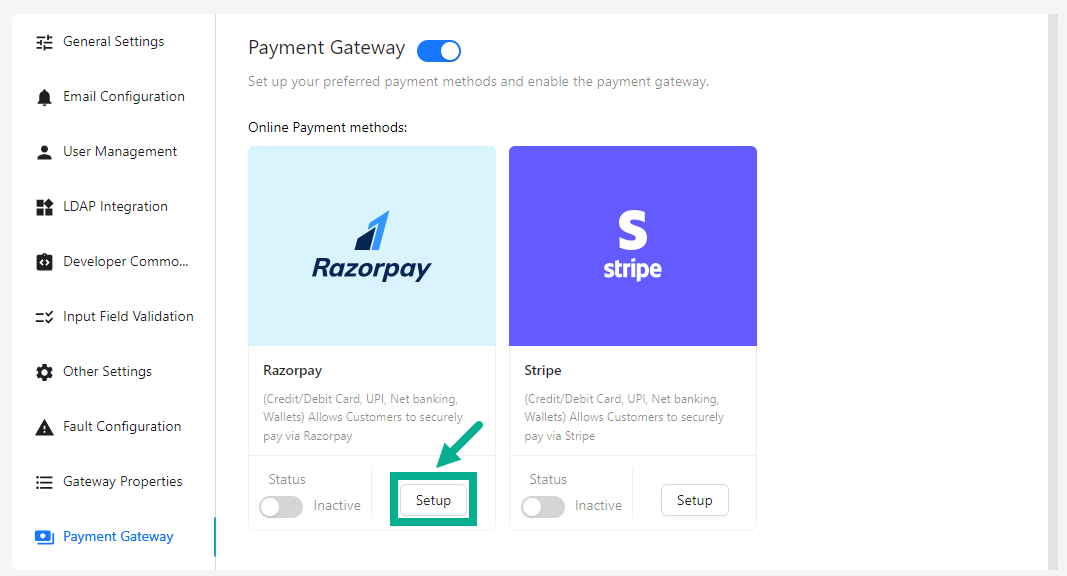
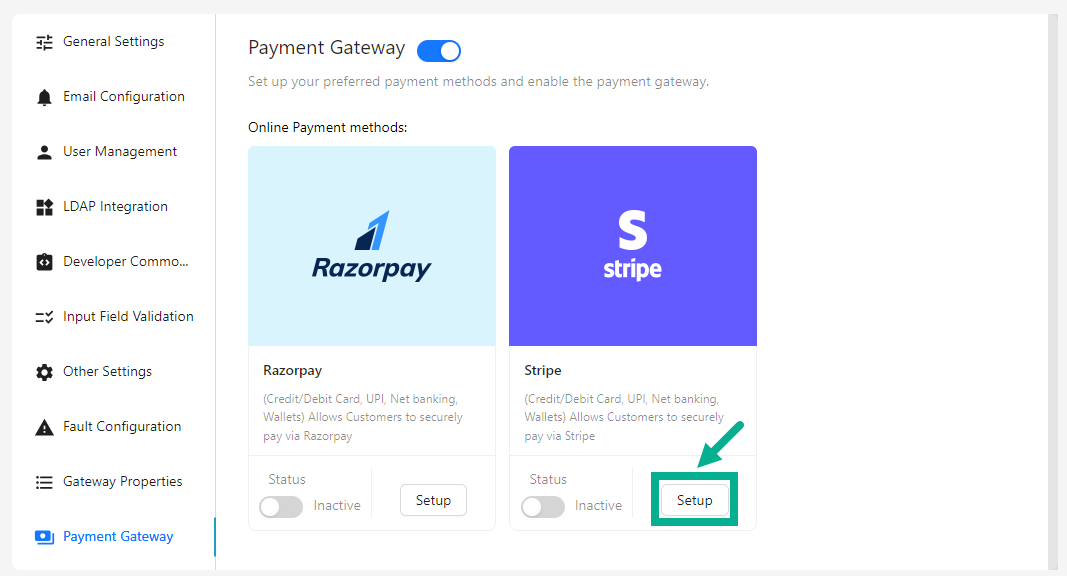
- Click Setup.
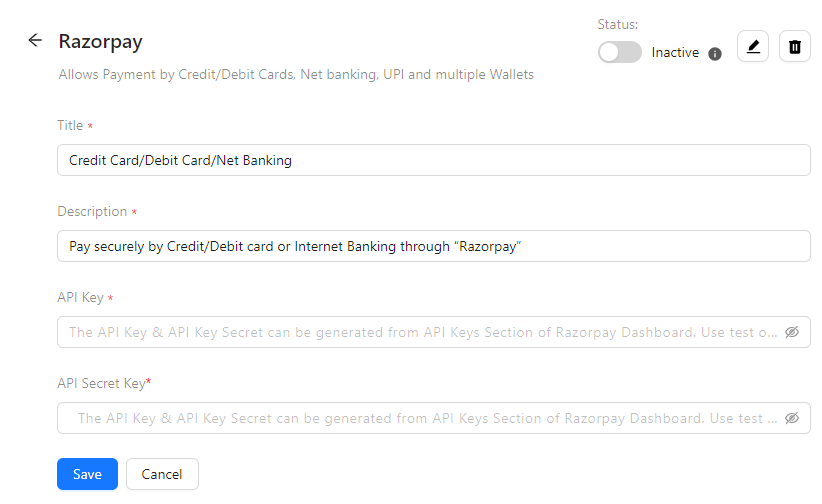
The setup screen appears as shown below.
-
Enter the Title and Description.
-
Enter the API Key and API Secret Key.
-
Click Save.
On saving, the confirmation message appears as shown below.
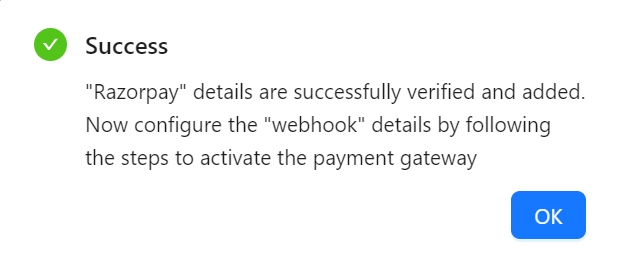
- Click OK.
The Webhook Endpoints section appears as shown below.

-
Configure the Webhook to the Razorpay account using the instructions in the image above.
-
The Payment gateway cannot be activated unless Webhook is configured to the Razorpay account.
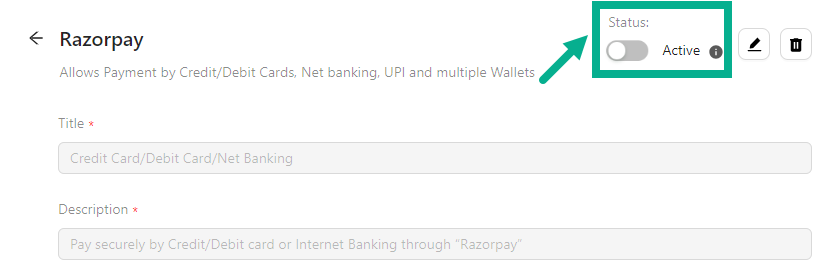
- After configuring the Webhook and Secret to your Razorpay account, enable the toggle to activate it.
On proceeding, the confirmation message appears as shown below.

- Click OK.
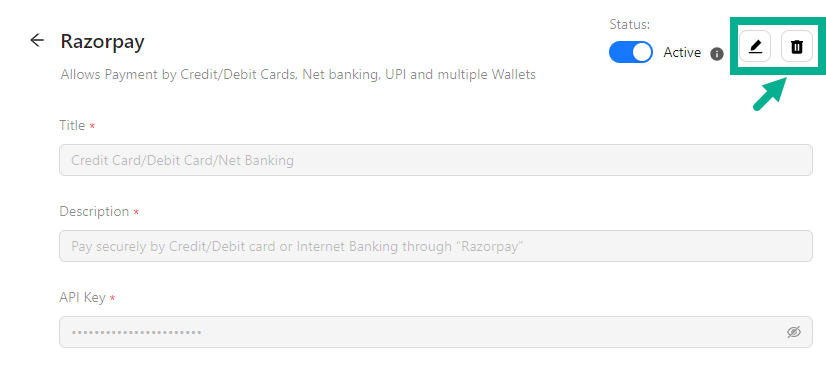
-
Click the Edit icon to modify the payment gateway details.
-
Click the Delete icon to delete the added payment gateway if necessary.
You cannot edit/delete the payment gateway when it is in an active state; please ensure that the payment gateway is in an inactive state before editing/deleting it.
Configure Stripe
- Navigate to the Global Configuration module's Payment Gateway sub-module.
- Enable the Payment Gateway toggle.
Online payment methods can only be configured when the Payment Gateway toggle is enabled.
- Click Setup.
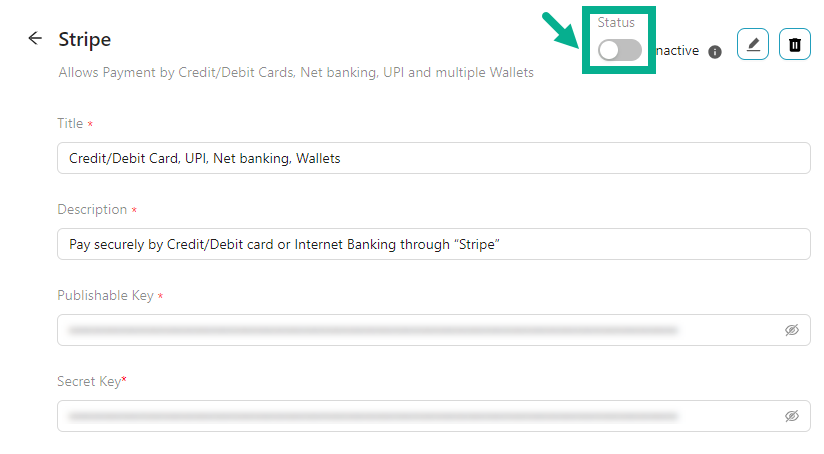
The setup screen appears as shown below.
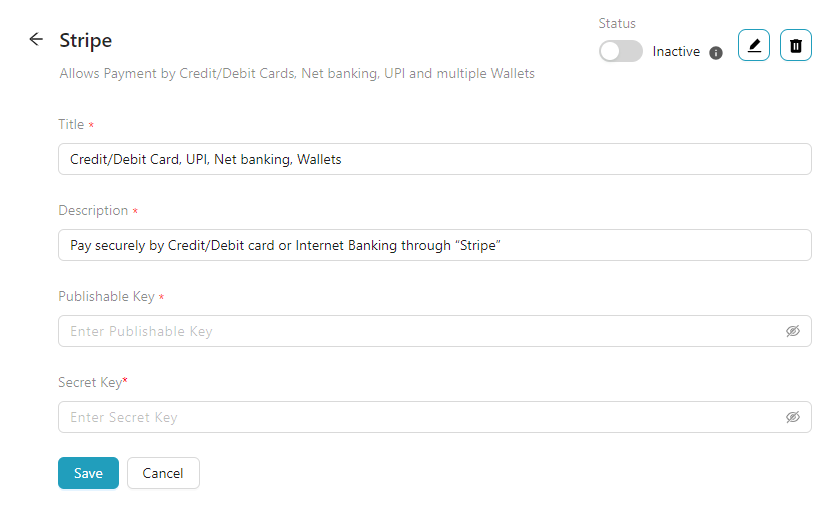
-
Enter the Publisher Key and Secret Key.
-
Click Save.
On saving, the confirmation message appears as shown below.
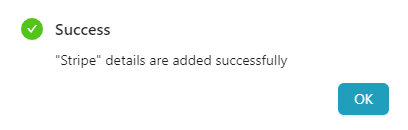
-
Click OK.
-
After configuring the Publisher Key and Secret Key to your Stripe account, enable the toggle to activate it.
On proceeding, the confirmation message appears as shown below.
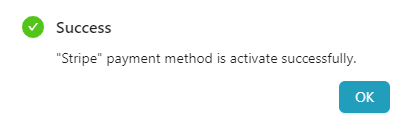
- Click OK.
-
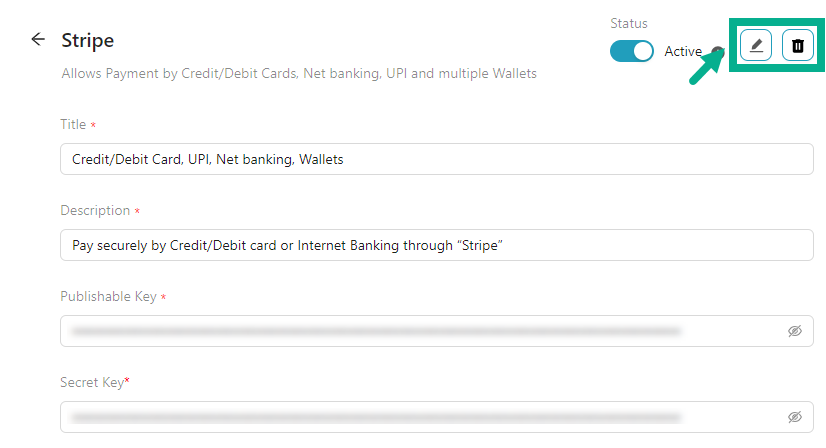
Click the Edit icon to modify the payment gateway details.
-
Click the Delete icon to delete the added payment gateway if necessary.
You cannot edit/delete the payment gateway when it is in an active state; please ensure that the payment gateway is in an inactive state before editing/deleting it.